Within Consensus, Groups can be used to easily manage the demo access and demolytics views for your different teams. In the article below we will explore the following:
- Accessing Groups
- Creating your Group Hierarchy (Groups & Subgroups)
- Setting Demo Access for Groups
- Adding Users to Groups
- What Access a Group Owner Gets
- Viewing Sales Demolytics by Group
You can access Groups under the settings gear (![]() ), then selecting ‘Manage Users & Access’:
), then selecting ‘Manage Users & Access’:
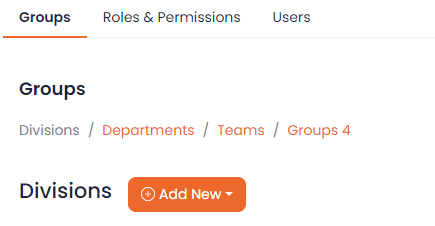
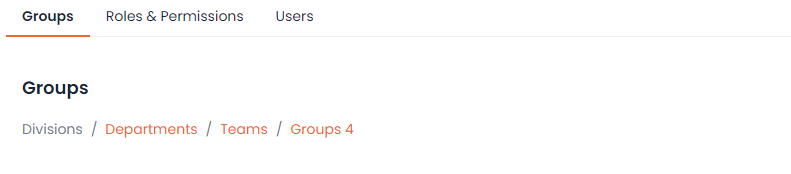
Your Account is the highest ‘Group’ level within your account. Underneath that, you can create unlimited levels of Groups with as many Groups on each level as you need. The first few levels underneath your Account level are Divisions, Departments, and Teams. After those levels you can continue to create subgroup levels as needed:
Before you Begin
Creating a Group in Consensus is simple, but before you jump in and start creating your Groups, we recommend building out your group hierarchy within a spreadsheet first to make sure you have it structured the way that will allow you to easily manage and support your teams. Understanding what you can do with Groups will help you best understand how to build these teams out:
Demo Access
Users within a Group only have access to the demos that are available to the Group they are in (along with any demos they create; if they have permission to do so). This is a great way to limit the demos your Users see and can use within the system, making sure they use the demos you want them to use. You will want to create Groups so that each member of the Group needs the same Demo Access to make managing your Demo Access easy.
Note: Demo Access only allows users to use the demo based on their permissions available to them in their role.
Reporting
Consensus allows you to filter your Demolytics based on Group(s). This allows you to easily see reporting for a specific team or several teams. Setting up your Group hierarchy based on how you will want to see reporting will make it simple and easy to pull the reports you need to see how successful your different teams are with Consensus.
Once you know how you will be structuring your Groups, you’re ready to start building everything out in your Consensus account.
Creating your Group Hierarchy
Start creating your Groups by simply clicking on the ‘Add New’ button. This will create your first Division (the first level underneath your Account).
This will bring you to the Create Group page where you can fill out the Group details and then save your new Group.
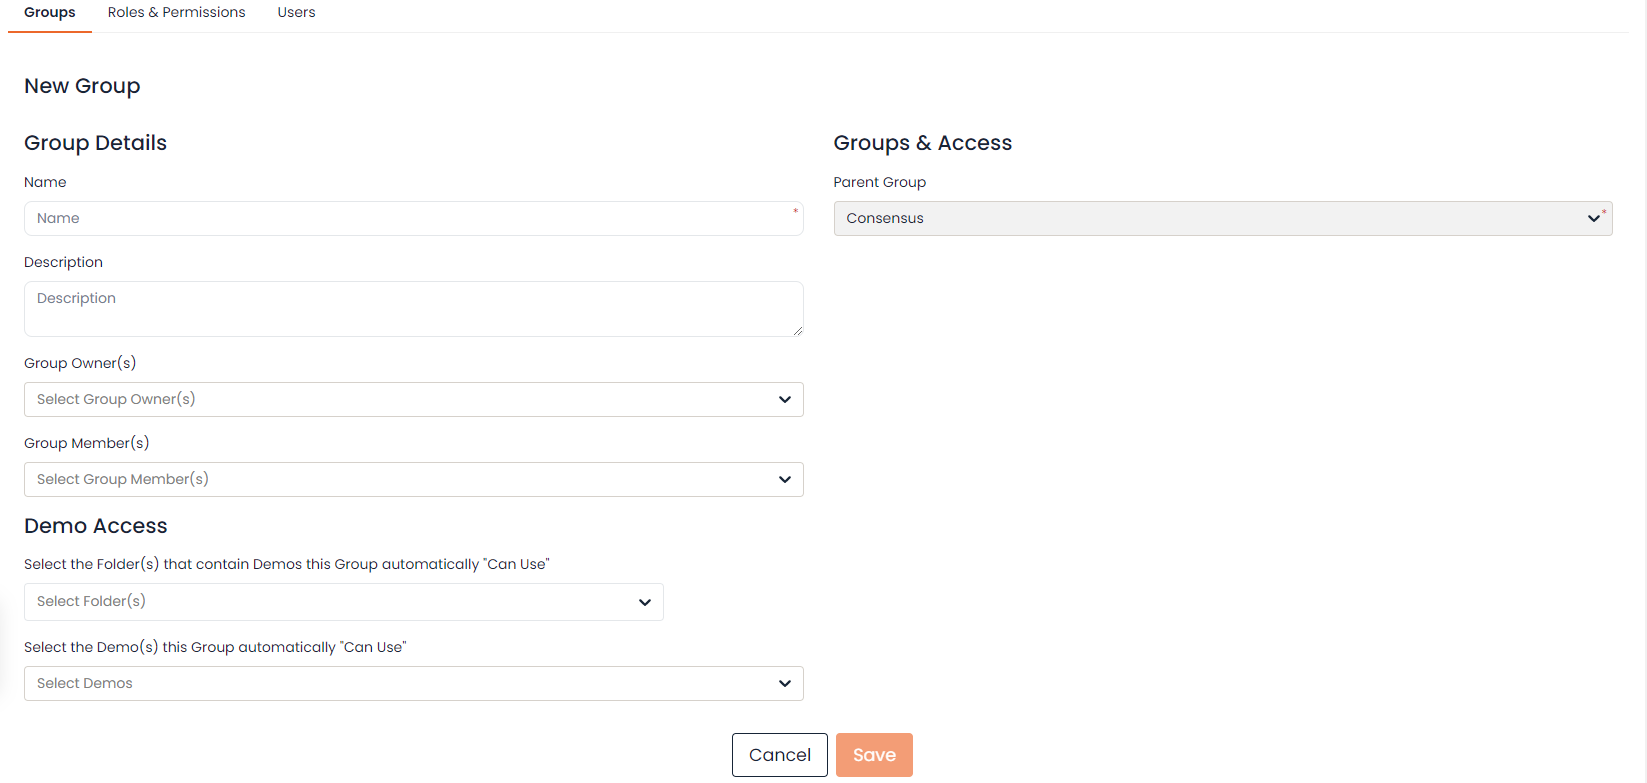
Within Creating a Group you can configure the following pieces:
|
Name |
This will be used within Drop-downs in Demolytics, Groups, & User Management |
|
Description |
Can be used to help give additional insight into the purpose of the group |
|
Group Member(s) |
Users activity will be attributed to this Group for Demolytics |
|
Demo Access |
Set the demos that Users within this Group can use based on their permissions |
|
Parent Group |
To give context of the Group placement within our Account Hierarchy |
Once this Group has been created, you can create a Subgroup underneath that Group by selecting the additional actions icon (![]() ) underneath the Actions column, then select Create Subgroup.
) underneath the Actions column, then select Create Subgroup.

This will Create the Subgroup and set the Group you just created as the Parent Group.

Once you save the new Subgroup, you can now create additional Groups at this level by selecting ‘Add New’ within that Group Level page.
Continue to create additional Groups & Subgroups to build out your Hierarchy. You can easily edit or disable Groups you have created underneath the Action column as well.
Note: Groups with Users or Subgroups associated with them cannot be deleted.
Setting Demo Access for Groups
Demo Access can be added to Groups in two ways. From within Groups page or from within the DemoWizard:
Within the Groups Page
To set Demo Access within the Groups page, Click the edit icon () for an existing Group or click on Add New to create a new Group. Once you are in the Group build page, simply click the Demo Access drop-down and add the demos that Group should have access to.

Any demo added to a Group will become immediately available to any Users within the Group. They will be able to use the demo based on Permissions available through their Role.
Within the DemoWizard
You can manage Demo Access in Step 1 of the DemoWizard. Located at the bottom of Step 1, you can give Demo Access to any User, Group, or give access to All Users. To give access to a specific group or set of Groups, select the Group option, then select the Groups you want to give Demo Access to within the drop-down.

Once you have selected the Group(s) you want to have access to this demo, click the ‘+’ button to add them to the Demo Access list. You can easily give Demo Access to any Subgroups or Groups you have added by selecting the ‘Include Subgroups’ option next to each Group.

Note: Only Groups with Subgroups will have the ‘Include Subgroups’ option.
Adding Users to Groups
There are two ways to add Users to a Group. This can be done as you Create/Edit a Group, or for a specific User within Manage users.
Add Users to Group
As you Create/Edit a Group, you will be able to add Group Members. Simply click the dropdown and select the Users you want to add to the Group.
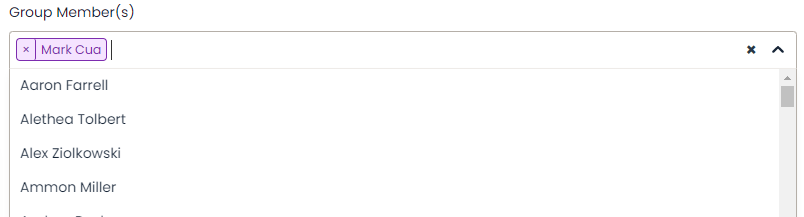
Users can only be assigned to one Group. Users already assigned to a Group will show within the drop-down as disabled with their Group listed in parenthesis for reference.

Add/Edit a User's Group
To add/edit a specific User’s Group, navigate to Manage Users by selecting the settings gear (![]() ), select ‘Manage Users & Access, then select the ‘Users’ tab.
), select ‘Manage Users & Access, then select the ‘Users’ tab.

Edit the User you want to add to or edit their Group by selecting the edit icon (![]() ) within the Actions column for that User. This will bring you to the Edit User page where you can now place the User within a Group or edit their Group.
) within the Actions column for that User. This will bring you to the Edit User page where you can now place the User within a Group or edit their Group.
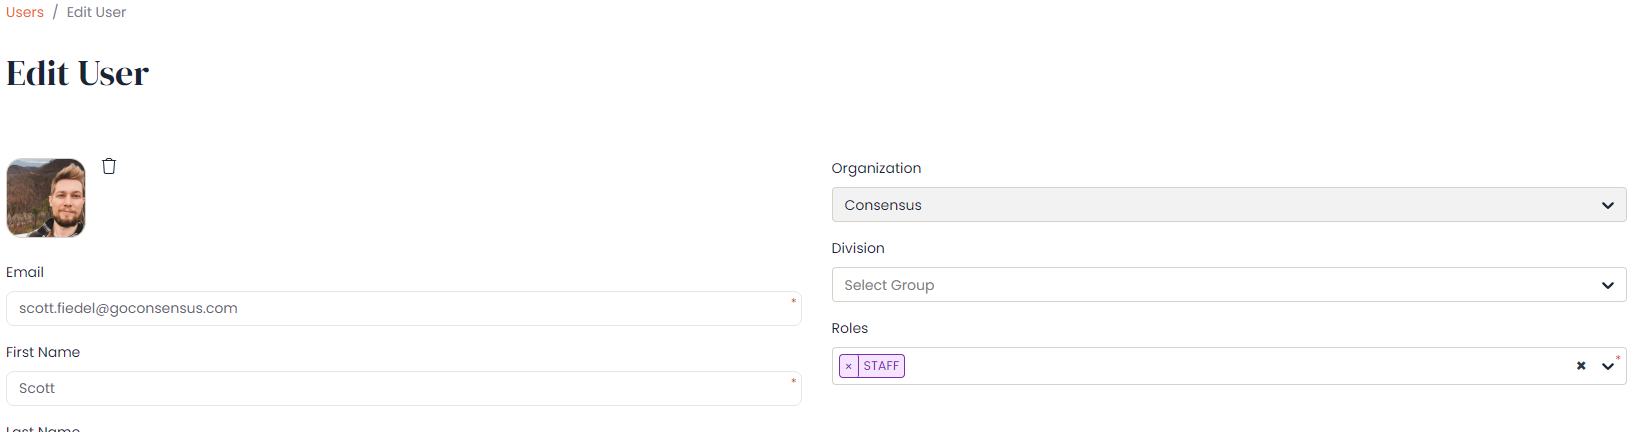
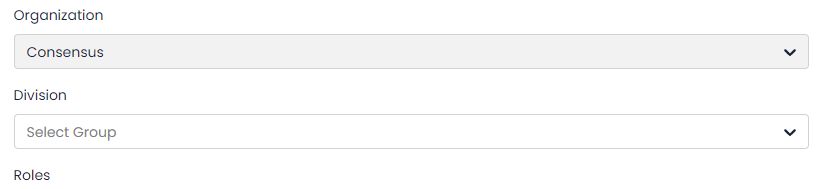
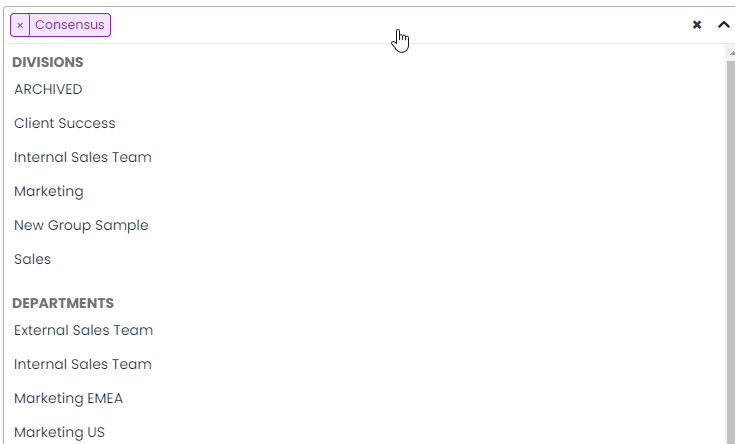
Under Groups & Access, you can place the user in the desired Group by selecting the Division level Group.
Once you select the Division, you can then determine if you want to place them within a Department under that Division, and so on. Now that you have that User set in the proper Group, simply select ‘Save’ to make it official. The User is now part of that Group and will inherit the Demo Access of that Group.
What Access a Group Owner Gets
Any User within a Group can be assigned as a Group Owner. This gives the User special permissions that allow them to more easily manage their Group and any Subgroups underneath them. You can easily assign the Group Owner(s) within the Edit Group page. Simply select the edit icon (![]() ) within the Actions column for the Group you want to Edit. Then select the User(s) you want to be set as a Group Owner and click ‘Save’.
) within the Actions column for the Group you want to Edit. Then select the User(s) you want to be set as a Group Owner and click ‘Save’.

Below is a list of the special permissions a Group Owner has:
Personal Demo Access
If your Group has access to create their own Personal demos, Group Owners can see and Manage (edit/copy, etc...) the Personal demos of the Users within their Group and Subgroups. This allows them to use a Users demo and open up access to the Group for all to use.
Group Management
Group Owners can manage their own Group and Subgroups, including assigning Demos (that they have access to in their own Group) and assigning users as Group Owners
User Management
Group Owners can edit those Users within their Groups and Subgroups, making it easy to update profile information or send out Forgot Password emails when needed!
Viewing Sales Demolytics by Group
With your Groups set, you can easily filter your Demolytics to view data for only the Groups you want. Within the Sales Demolytics, simply click the Dropdown to select the Groups you want to include.
You can also use the Include Subgroups option to easily include the data for all Subgroups for any Group you have selected. Once selected, simply click Apply to filter your view to just those Groups.

Note: If no Subgroups exist for the Groups selected, the ‘Include Subgroups’ option won’t show.
Creating your Group Hierarchy allows you to easily manage your Users and create reports that will help you understand how effective your different teams are using Consensus.