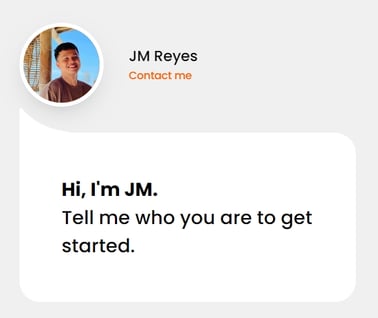
Consensus DemoBoards create a powerful engaging experience where your viewers can learn about your products and services. It is important to have contact information available to help Viewers understand how they can reach out with any questions or needs. In this article we will review how you can add your User Contact info into a DemoBoard without having to adjust any settings within the DemoWizard.
- Enable the 'Show User Contact Info in DemoBoard' feature within your Account Settings
- Select 'Global Demo Settings' under the Gear icon (
 ) in the lower left hand corner
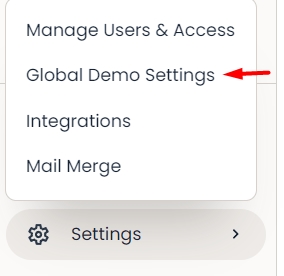
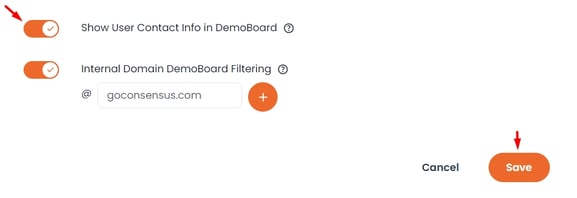
- Scroll down to 'Show User Contact Info in DemoBoard' and set to ON to enable the feature, then click Save at the bottom of the page
- Once this feature is enabled, DemoBoards will use the DemoBoard Creators contact information as the Contact Info within the DemoBoard invite by default
- Select 'Global Demo Settings' under the Gear icon (
- As you create a DemoBoard, you can adjust the Contact Info within the 'Additional Options' tray.
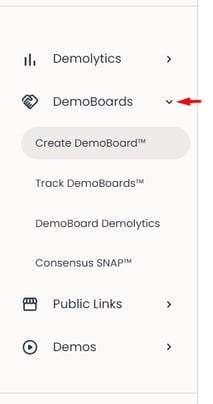
- Select Create DemoBoard under the DemoBoards dropdown within the left Navigation
- Within the Create DemoBoard page, select 'Additional Options' to edit the Contact Information used for the DemoBoard
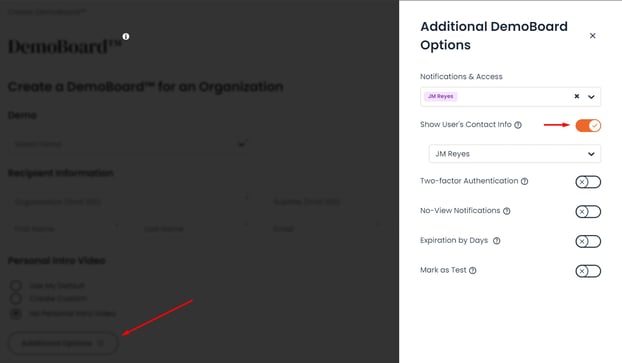
- User Contact Info - This will be set to ON by default for every DemoBoard you create if the Account Level Setting is enabled.
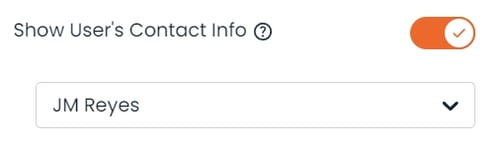
- Setting this to OFF within the DemoBoard Additional Options will default the contact information to the contact info used within the DemoWizard

- Setting this to OFF within the DemoBoard Additional Options will default the contact information to the contact info used within the DemoWizard
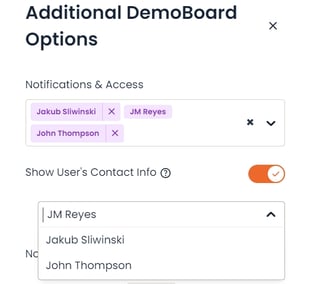
- Users can adjust the Contact Information to any User added to the Notification & Access List within the Additional Options tray.
- Note* The Contact Info can be updated to another User at any time! Just select 'Additional Options' within the More Actions dropdown and it will bring you into the DemoBoard with the Options Tray open so you can adjust it to another User.
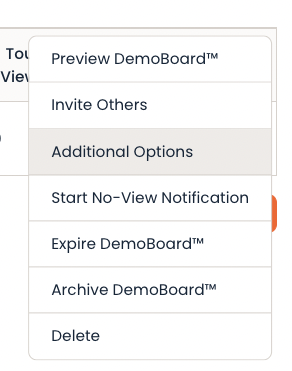
- Remember, the User will need to be within the Notification & Access List to show their Contact Info within the DemoBoard
- Note* The Contact Info can be updated to another User at any time! Just select 'Additional Options' within the More Actions dropdown and it will bring you into the DemoBoard with the Options Tray open so you can adjust it to another User.
- User Contact Info - This will be set to ON by default for every DemoBoard you create if the Account Level Setting is enabled.
- That's it! Now Create your DemoBoard and send it to your Viewers. The selected Users Contact Info will now show inside of the DemoBoard instead of the generic Contact Info within the DemoWizard
- Select Create DemoBoard under the DemoBoards dropdown within the left Navigation
- Set up your Profile to take Advantage of your Contact Info!
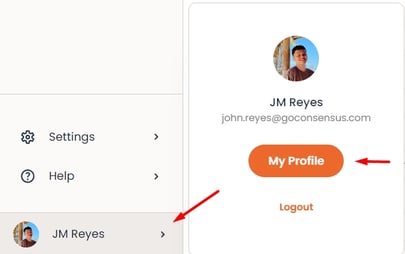
- Select My Profile by clicking your Name in the lower left hand corner
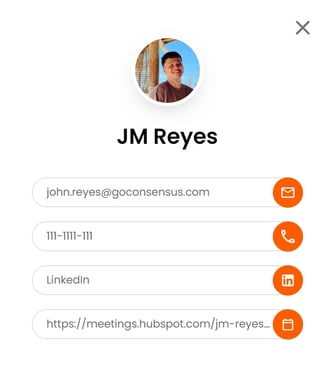
- Within My Profile, you will see all of the available Contact Info you can add to the DemoBoard.
- Photo - This allows you to add a profile picture and will appear on the demo for your prospects to see
- Name (Required) - First Name & Last Name are required for setting up a User and will be added to your User Contact info
- Email (Required) - Email address is required for setting up a User and will show as an actionable icon within your User Contact Info
- Phone - Add your Phone number as a contact link to allow Viewers to easily reach out
- Calendar Link - Link out to an automated calendar so Viewers can easily schedule an appointment to meet with you.
- Job Title - This will show beneath your name and gives an opportunity to showcase the role you have in working with your prospects and clients
- LinkedIn - Add a link to your LinkedIn page so Viewers can easily connect and follow
- X (Twitter) - Add a link to your X (Twitter) page where Viewers can easily connect and follow
- WhatsApp/WeChat - Link to your WhatsApp so Viewers can easily communicate with you
- Note: Any Contact option filled out will be added to your User Contact Information within the DemoBoard.
- That's it! Your Profile is now set. Any DemoBoards using your Contact information will automatically update to the latest information saved in your Profile.
- Select My Profile by clicking your Name in the lower left hand corner