Consensus allows you to take advantage of insightful Demolytics and full Demoplayer functionalities with all of your content.
Try this yourself right now, in an Interactive Product Tour
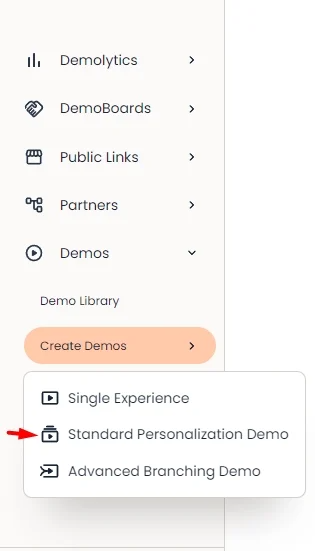
To create a new demo within Consensus you'll go to Demos > Create Demos > Select Standard Personalization Demo:
Standard Personalization Demo Structure - This allows you to provide an intro video and then let each viewer personalize their demo to their unique interests, based on the feature videos available to them within the demo. These are all tied to the full functionality of the demo player
Standard Personalization Demo Structure
- STEP 1: Demo Info
- STEP 2: Demo Style Settings
- STEP 3: Demo Content
- STEP 4: Stakeholder Actions
- STEP 5: Additional Interactions
- STEP 6: Finalize
- Publishing Your Demo
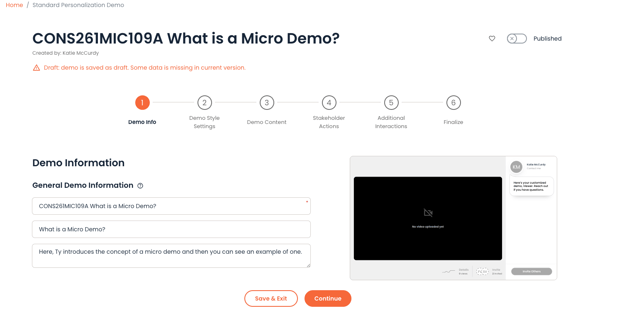
STEP 1: Demo Info
In the first step you'll be able to add the Internal and External (client facing) Titles for the demo. The Description is optional and can be used to add elements that are searchable within the Demo Library and other Demo dropdowns.
STEP 2: Demo Style Settings

In Step 2 you will choose the language of the demoplayer, for which we currently support the following:
- English
- Chinese Simplified
- Chinese Traditional
- Czech
- Danish
- Dutch
- Finnish
- French
- German
- Indonesian
- Italian
- Japanese
- Korean
- Norwegian
- Polish
- Portuguese
- Russian
- Spanish
- Swedish
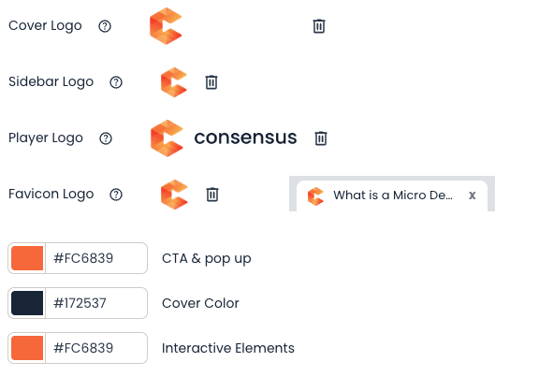
Next, add your logo, favicon, and set what colors you want to use for the demoplayer. Learn more about Demo Style Settings here.
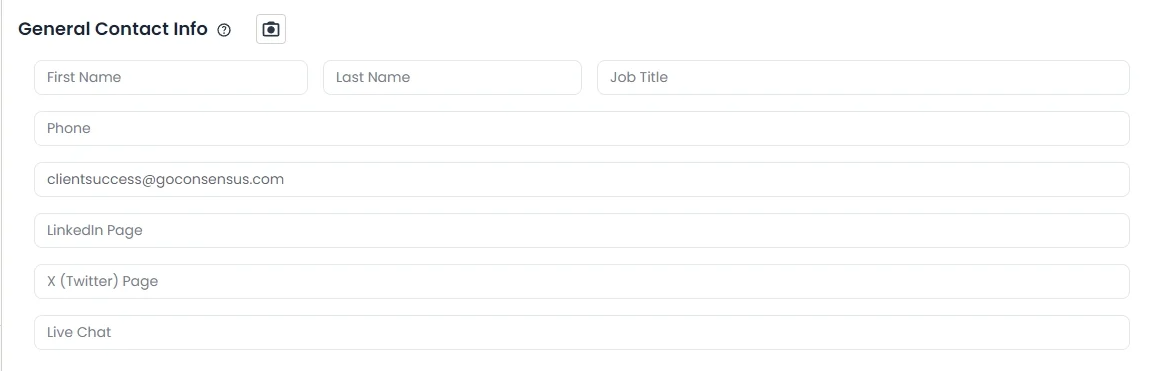
Within the Contact Info section, you'll add a general company phone number, email, as well as links to your company social media channels.
STEP 3: Demo Content
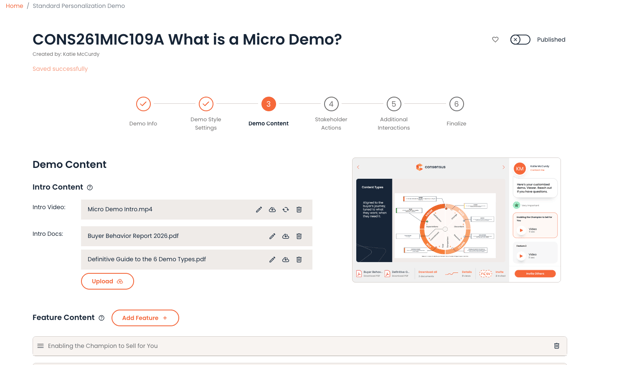
In Step 3 you'll upload the videos, tours, and related documents for your Standard Demo.
- The Intro Video is optional and will play before the viewer rates the features you add to your demo (we recommend using an MP4 file):
- Intro Docs are optional as well. These docs will show in the Doc bar to the viewer during the entire demo regardless of how the viewer personalizes the feature ratings
- Feature Content is what the prospect will rate when they're personalizing the Standard demo.
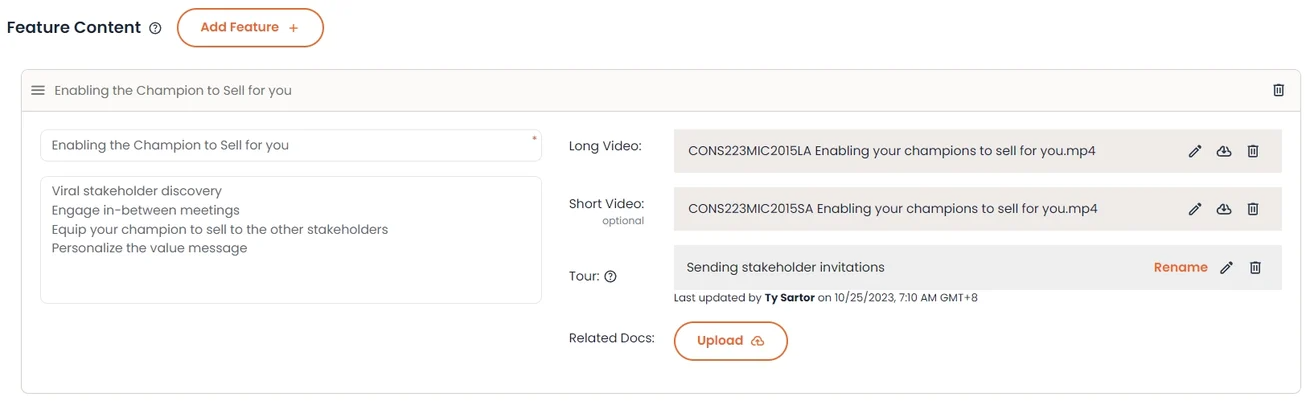
- The Feature Title is what viewers will see when they rate your features
- The Description is an optional element that you can use to give additional context to your viewers about the feature. This will show as the viewer hovers over the helpful hint added if you include a description
- Tours are an optional interactive element that can give your prospects a clickable experience of your solution.
- You can upload two video versions within the same feature subject.
- Long Video - will play for features marked as Very Important
- Short Video (optional) - will play for features marked as Somewhat or Not Important
- NOTE* If only the Long video is uploaded it will be used for all responses
- Related Feature Docs will show to the Viewer if they have rated that feature as Somewhat or Very important
- Some Tips & Recommendations
- Each feature requires at least a video or tour. Each feature can have both if you choose.
- We recommend 5-7 features for a Standard Personalization Demo. More than that can feel long for the viewer to go through and rate.
- If you choose to add a short video, we recommend it being about 1/3 the length of the long video. This will help ensure you can educate your viewer on the topic but not lose their interest and have them leave the demo before finishing all features.
- Use the Intro Docs if you have related documents you want to make sure are always available for all viewers.
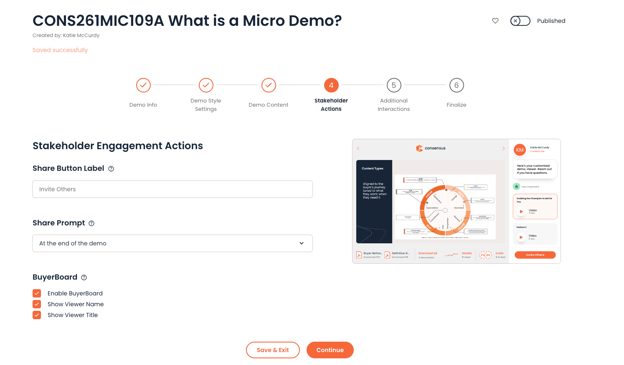
STEP 4: Stakeholder Actions
In Step 4 you'll be able to choose where the Share Prompt will populate within a DemoBoard. You'll also be able to choose if you want to enable BuyerBoard for this specific demo.
STEP 5: Additional Interactions

Additional Interactions allows you to choose where the Lead Collection Form will populate for Public Links. We recommend placing the Lead Collection Form after the personalization phase. To do this you'll select "After the personalization questions":

You'll also be able to choose if you want to have Call to Action buttons populate on the demplayer. You can have up to four different CTA's on the demoplayer (along with the "Invite Others" CTA if you're sending DemoBoards).
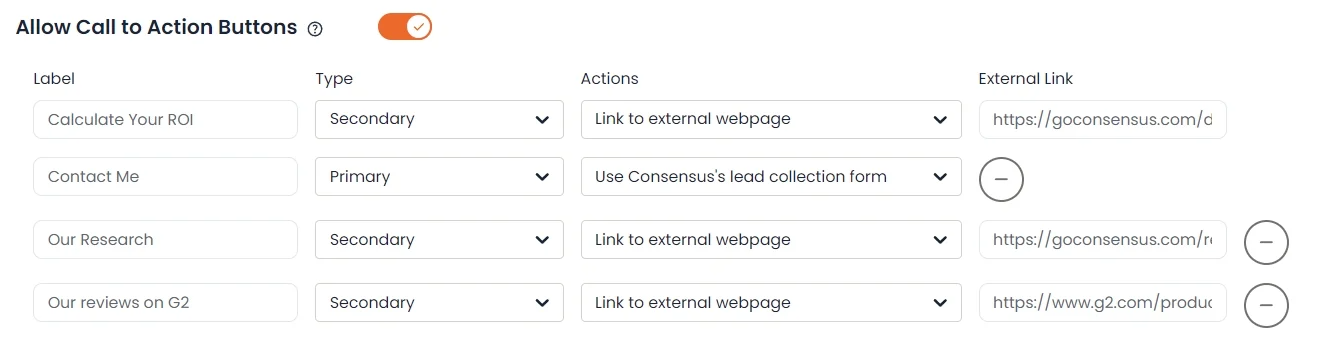
NOTE* The "Invite Others" Call to Action is automatically added to DemoBoards you create.
NOTE** Call to Actions linked to the Consensus Lead Capture Form will NOT show on DemoBoards.
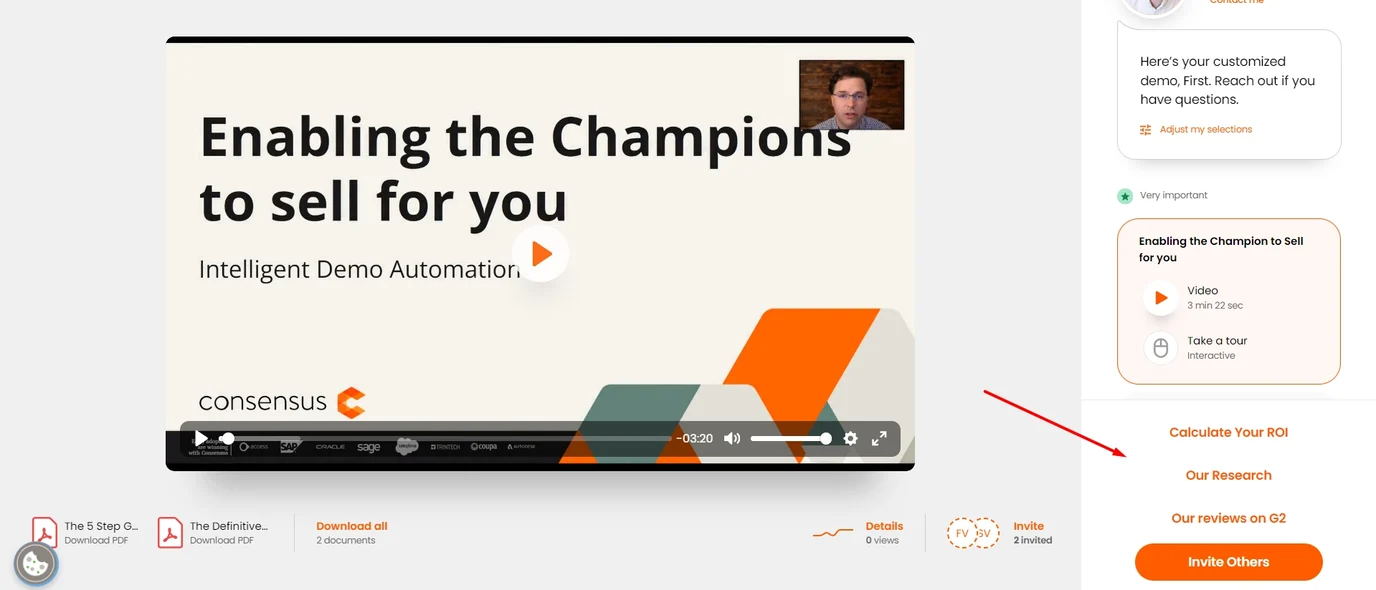
Examples of what these CTA's look like on a DemoBoard
STEP 6: Finalize
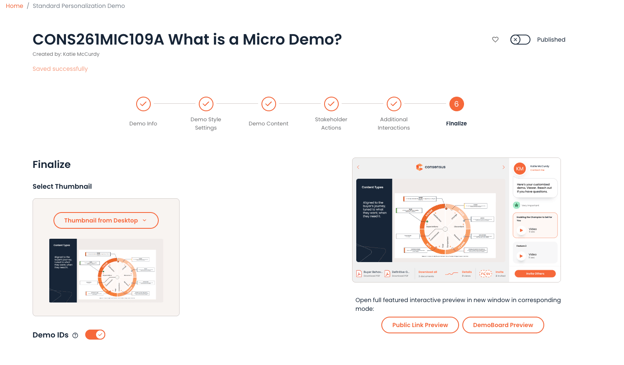
In the final step you'll be able to add your details for Demo IDs, choose thumbnails, select demo tags, as well as set the access for your Demo.
- Demo Access

- Visible in Demo Library - Allow Users to preview and request access to this Demo by placing it within your Demo Library
- Demo Access
- Self Service "Can Use" - allow your Users to automatically gain "Can Use" access to demos when they request it within the Demo Library. This limits them to only Create DemoBoards or get the Public Link to your demo based on their user role and permissions
- User/Group Access - Grant access to users and set what level of access you want those Users/Groups to have
Learn more about Consensus Roles and Permissions here
Publishing Your Demo

Once you have everything set for your demo, publishing it allows it to be used. This allows you to get everything set up for your demo and then make it live by Publishing it. Users won't be able to create DemoBoards or get Public Links to your demo if it is not Published.
This can also be used as a "kill switch" if you determine you no longer want viewers to be able to watch your Demo. Unpublishing the demo will send viewers who navigate to the demo to a "Demo is expired" page.
That's it! You now have a finished demo. Remember, there is no limit to the number of demos you can create in your account. Take advantage of Consensus' powerful Demolytics by uploading all of your demo content to your Consensus account.