In this article, we will show how to add Consensus data to your SFDC Reports with the SFDC Professional Integration
Consensus already includes a list of Report Types, canned pre-built reports and Dashboards out of the box with our integration. Make sure to check out our other KB article for a deep dive into reporting. If you need further customization, the below article will show you how to create your own report type.
The Consensus SFDC Professional Integration passes Consensus view data into your Salesforce account in a reportable format. This allows you to generate reports that contain Consensus data allowing you to easily understand the ROI and value that Consensus is providing. In this article we will walk through setting up your Salesforce account to allow you to add Consensus data to your custom report types.
NOTE* In order add Consensus data to your reports, Consensus SFDC Professional needs to be installed.
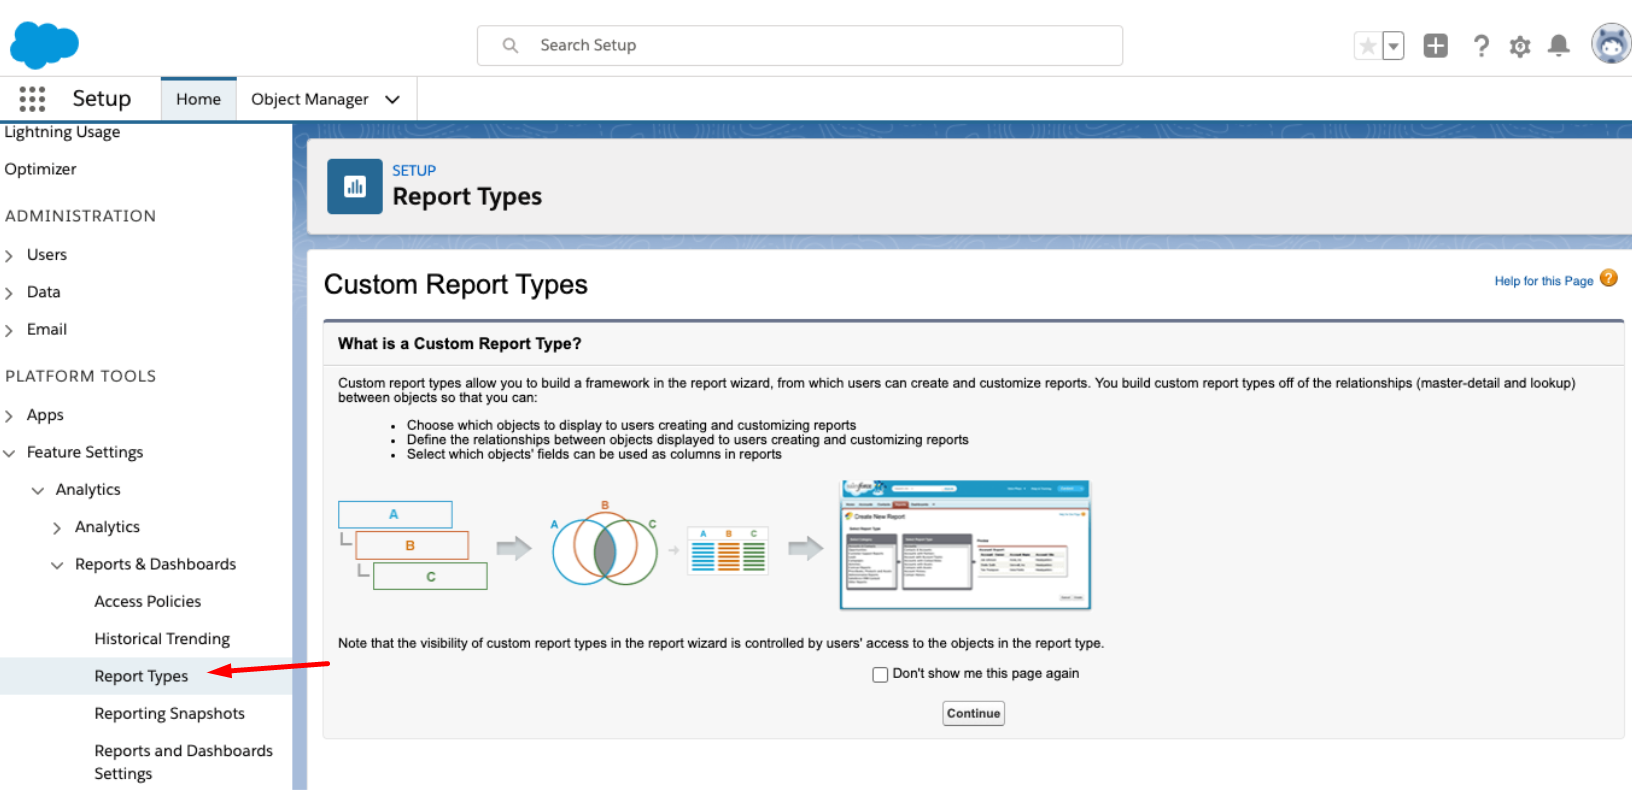
- Click Setup, then in the quick find, type Report Types

- Click New Custom Report Type, choose the Report Type Primary Object, update the Report Type Label and Report Type Name and then choose the Report Type Category.

- Choose Opportunty (or whatever you chose from the Report Type Category) as the Primary Object. Now choose cDemoBoards, cInvitations, then cViews. This is just general guidance using our most utilized object hierarchy. Now click Save.

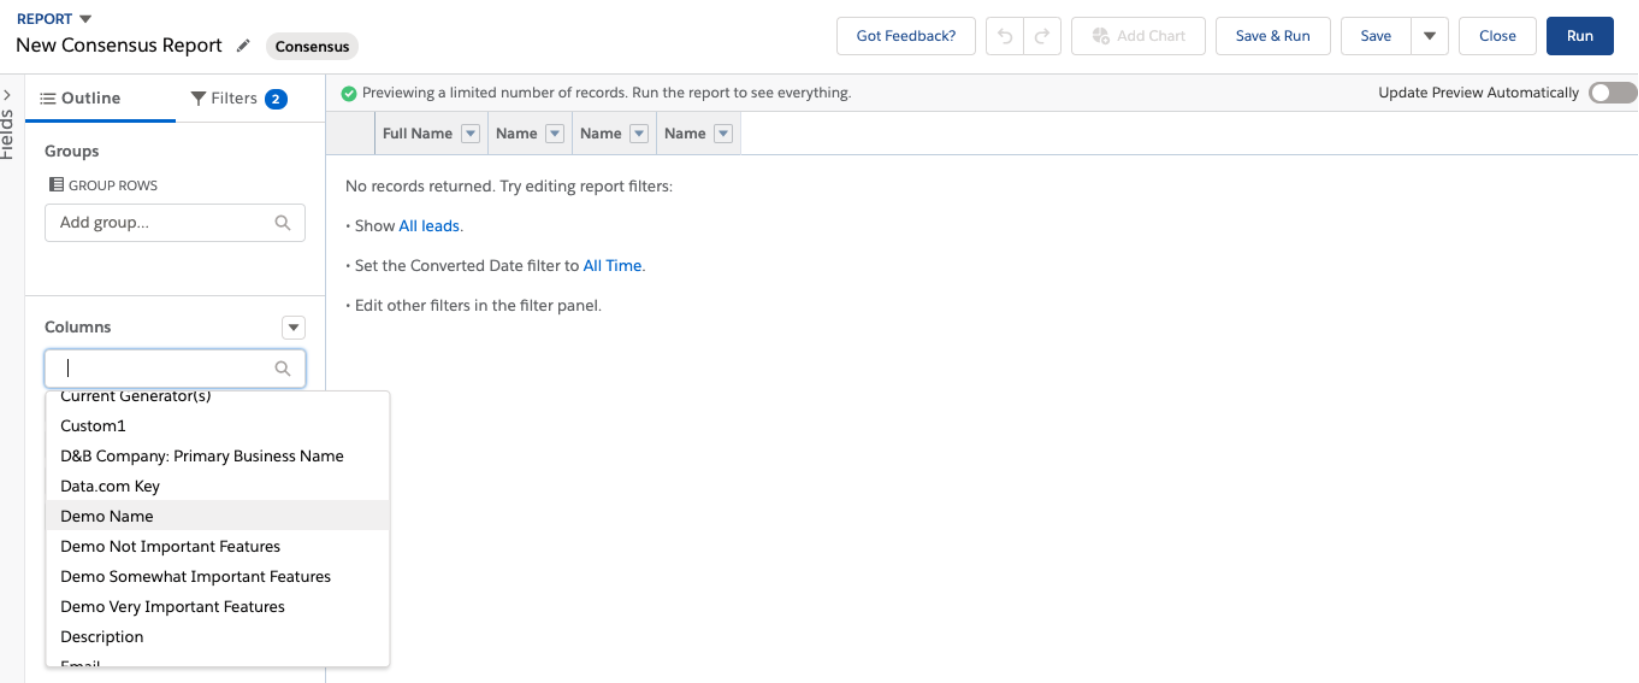
- In Reports, click New Report and choose your recently created report type as the report type.

- On the right-hand side, click Columns and choose the data you want to see in the report. Once you have added the desired columns, Click Save then Run.

That's it! Your account is now set up and you can generate reports based on the data that Consensus is sending through the Consensus SFDC Professional App.
